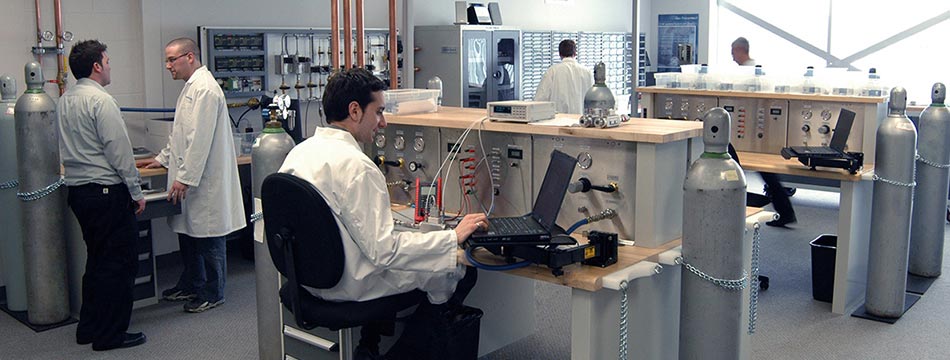
Electrical measurement equipment such as multimeters, resistors, power supplies and electrical testers are commonly used instruments that require periodical calibration, as well as process instruments advises Eddy Jones of calibrate.co.uk.
Test equipment has certain measurement capabilities which conform to its manufacturers specifications. Over time these measurement and supply capabilities may drift outside of their specifications and so require recalibration to ensure that they are operating within the acceptable limits.
Voltage, current, resistance, inductance, capacitance, time and frequency are the principal parameters in electrical and electronics measurement equipment.
In order to perform the best possible measurement, a metrologist’s choice of suitable equipment requires an extensive knowledge of types of measurement equipment, their principles of operation, imperfections of equipment and test configurations, types of measurements that can be performed and purposes for calibration measurements.
United Kingdom Accreditation Service (UKAS) is recognised by the British government to assess the competence of organisations that provide calibration services against internationally agreed standards. All accredited calibrations must comply with the quality system standards set out in the BS EN ISO/IEC 17025:2005 General requirements for the competence of testing and calibration laboratories.
The advantages of using a UKAS accredited laboratory include proven traceability to national standards. All calibrations are conducted by able calibration technicians and approved signatories who are regularly inspected by the UKAS assessors.
And the customer is assured that their equipment is properly maintained to their scope of accreditation providing accurate measurement and generation capability.
Electrical Test Equipment
In the case of electrical instruments, PASS is now accredited by UKAS to ISO/IEC 17025. With a scope of accreditation that allows it to calibrate analogue and digital multimeters, clamp meters, ammeters and resistance decade boxes, portable appliance testers (PAT), power supply units and RCD testers.
Basic function checks include whether every section of a tester’s display lights up, whether a continuity buzzer works and whether its controls function correctly. The three main types of 17th edition tester are loop testers, insulation/continuity and RCD testers.
All equipment is calibrated to different test points to cover all of the ranges, or at the manufacturers specified testing points (where this is possible).
For example for insulation and continuity testers, the output test voltage, current and resistance measurement for all ranges must conform to the manufacturer’s specifications.
Process calibration
Flow meter calibration may be carried out on equipment such anemometers and rotameters in a calibration laboratory, preferably in an accredited laboratory with a wind tunnel, or on-site at user premises. A laboratory should be able to calibrate all types of flow device including conventional flow meters, sensors and specific devices for measuring water, air and other types of flow.
Calibrating gas detectors and flue gas analysers ensures that gas equipment is working to specified accuracy within all relevant standards. Other gas equipment needing calibration includes quad gas instruments, refrigerant leak detectors and single gas instruments. Major gas tests include carbon monoxide, carbon dioxide, hydrogen sulphate, oxygen and methane.
Pressure calibration of all types of pressure devices may be performed, including pressure gauges, vacuum gauges, manometers and barometers with traceable hydraulic calibration equipment. When testing a gauge calibrate.co.uk conducts rising pressure tests and falling pressure tests, as well as minor repairs and readjustments of zero errors and range errors.
Temperature and thermometer calibration requires that technicians be able to perform calibration on-site in places such as industrial and chemical plants, hospitals, pharmaceutical and healthcare properties including NHS and private hospitals across the UK, as well as laboratory based calibration.
Instrument Accuracy
Calibration verifies an instrument’s accuracy, which is crucial in sectors such as the food industry for example, which operates under strict guidelines about the temperature at which food may be stored.
Today we can measure just about anything, whether registering the effects of noise in the street, testing electrical current, measuring the amount of water flowing through a pipe or the chemical composition of a substance.
Under UKAS procedures, an instrument is calibrated against another that of higher accuracy. Readjustment ensures that the instrument gives readings within acceptable tolerance limits.
Instrument manufacturers will normally advise how often their devices need to be calibrated, but in some cases instruments may need a special calibration before specific projects to ensure their accuracy, or if they have been affected by an accident, impact, power overload or extreme weather.
For further information, please visit calibrate.co.uk.


